How To Use Monitor Raspberry Pi Behind Firewall On Mac Without Stressing Out
Ever wondered how to monitor your Raspberry Pi behind a firewall from your Mac without losing your mind? Well, you’re in the right place. Whether you’re a tech enthusiast or just someone trying to manage their home network, this guide is here to simplify things for you. We’ll break down the process step-by-step so even if you’re not a coding wizard, you’ll still feel like a pro by the end of this article.
Let’s face it—managing a Raspberry Pi can be tricky, especially when you’re stuck behind a firewall. Firewalls are great for security, but they can also make remote access feel like navigating a maze. But don’t worry! There are ways to monitor and control your Raspberry Pi without pulling your hair out. Stick with me, and I’ll show you how it’s done.
In this article, we’ll cover everything from setting up your Raspberry Pi to configuring your Mac for seamless monitoring. You’ll learn about tools, tricks, and best practices that’ll help you bypass those pesky firewalls while keeping your setup secure. So grab a coffee, sit back, and let’s dive into the world of Raspberry Pi monitoring!
- Brook Monk Deepfake Porn Unveiling The Truth Risks And Solutions
- Notjulesarileaks The Untold Story Behind The Viral Sensation
Understanding Raspberry Pi and Its Role in Your Network
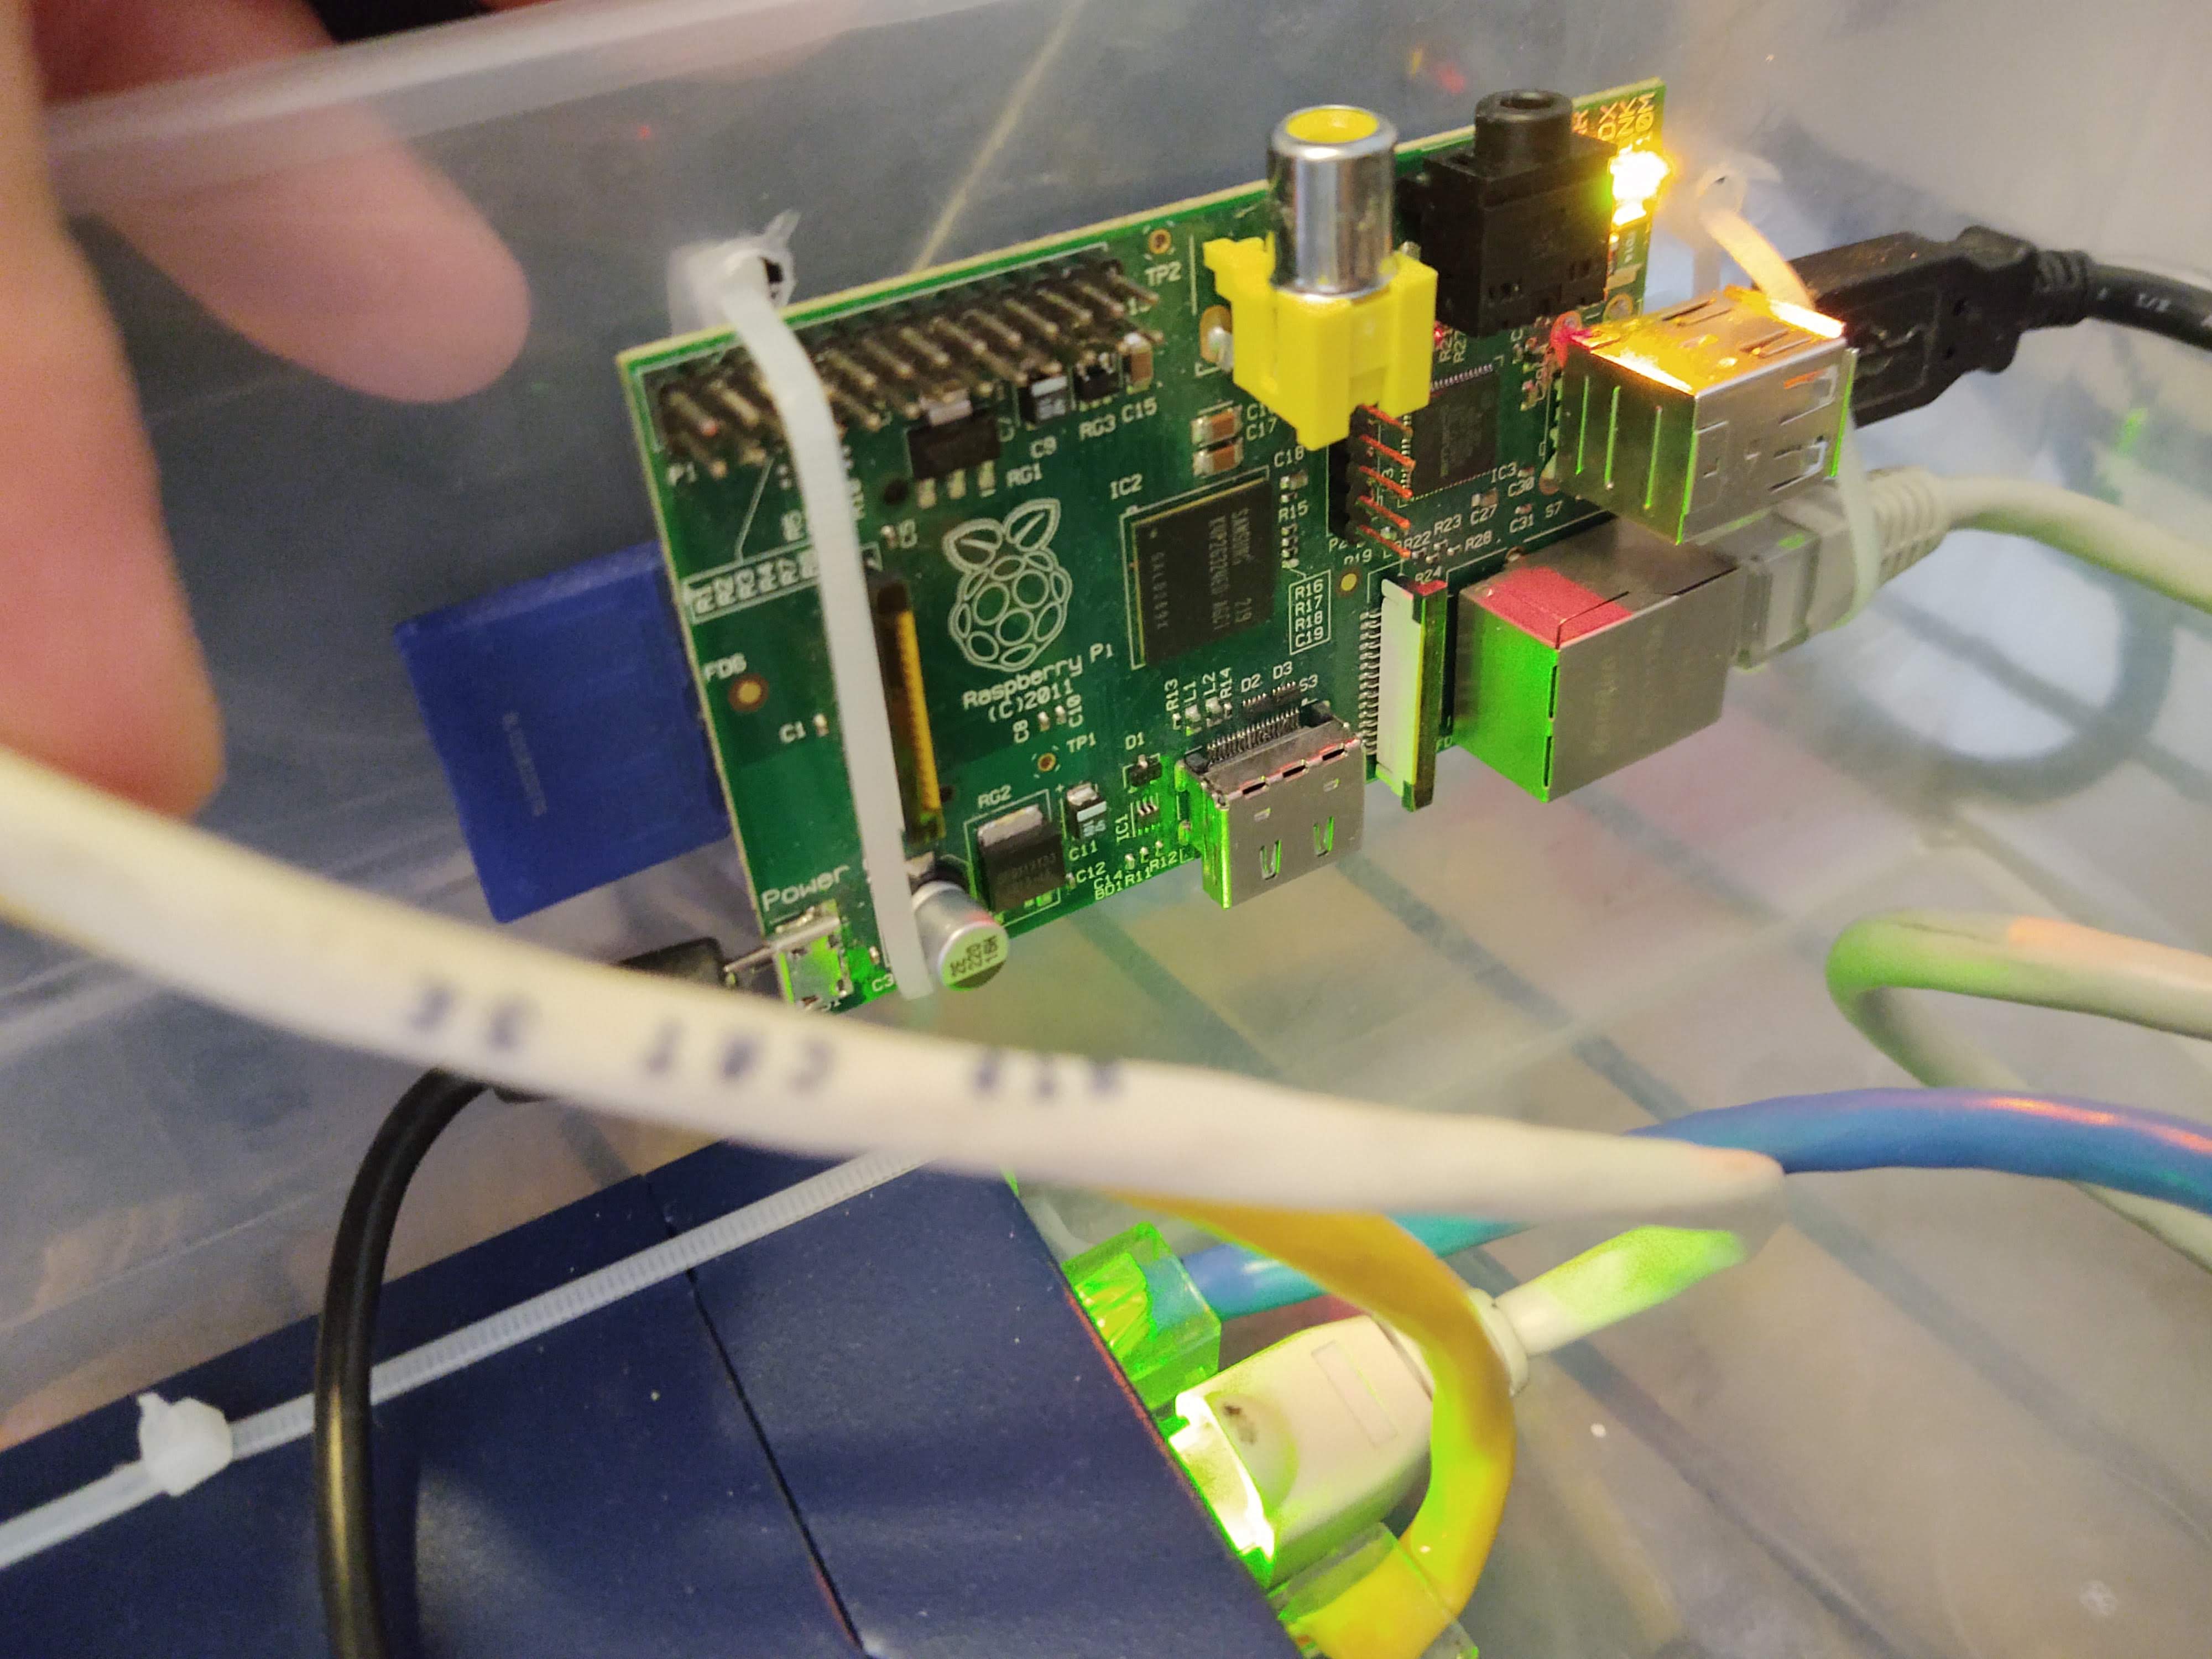
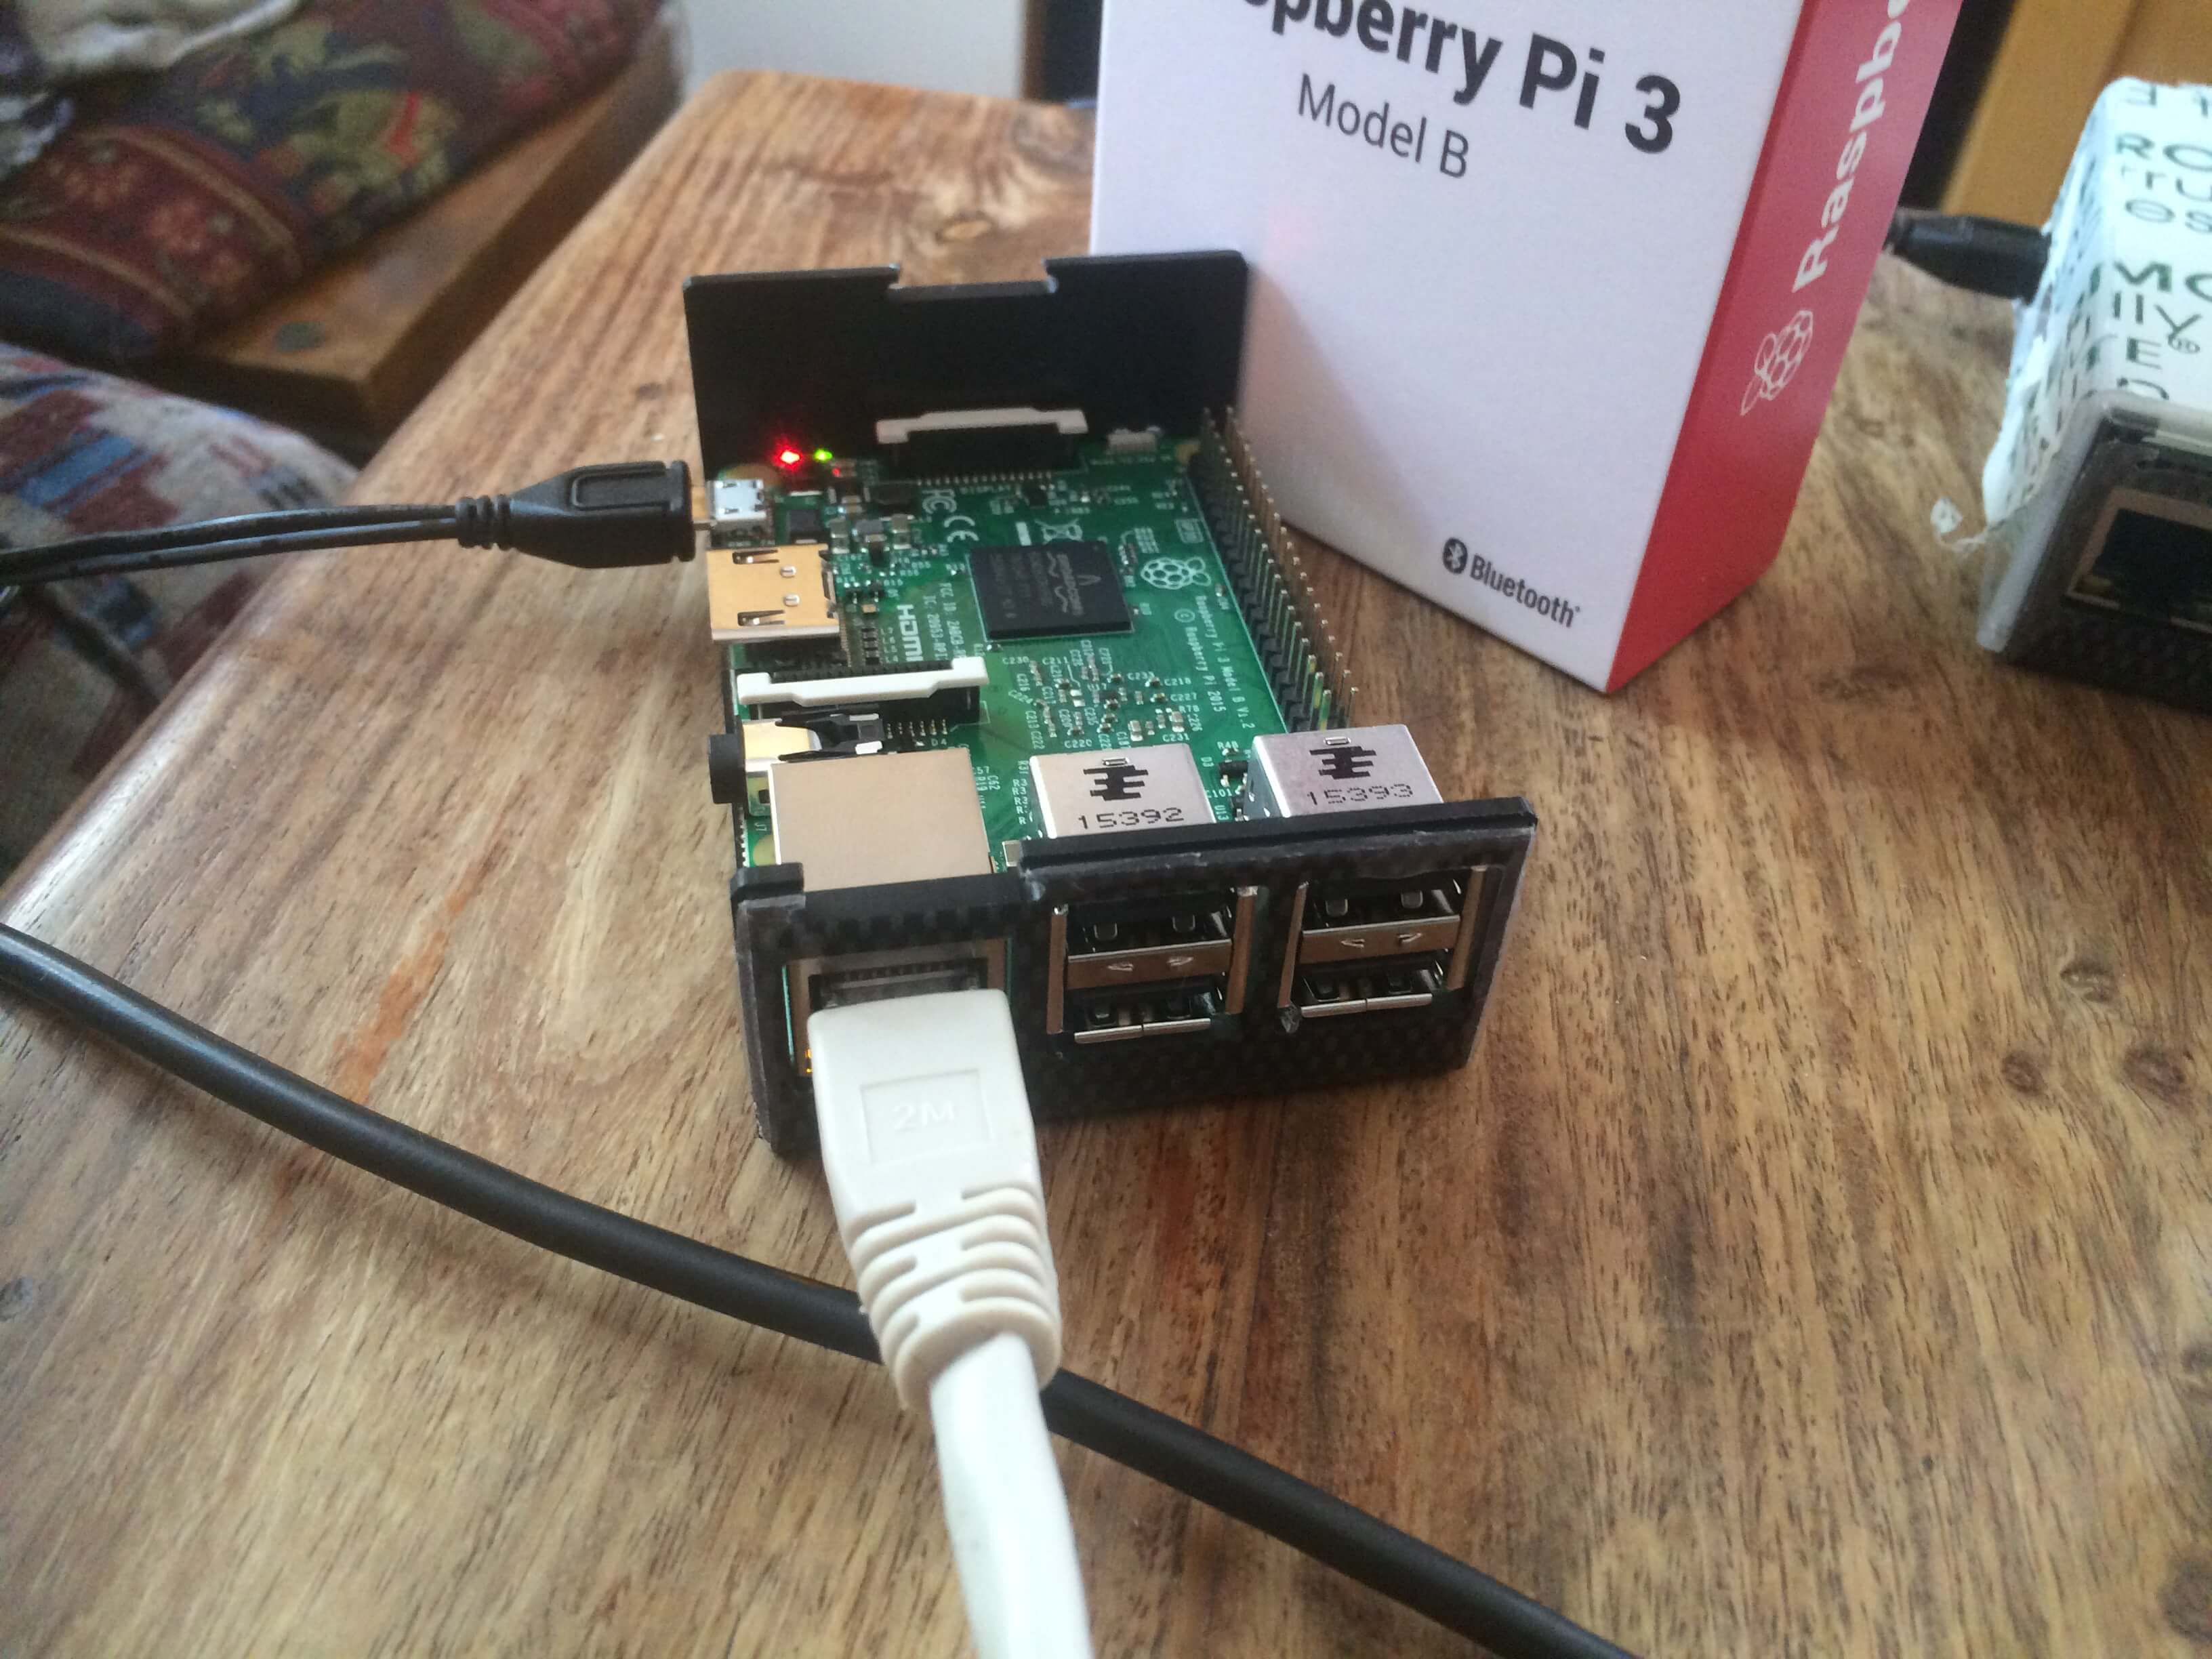
Before we jump into the nitty-gritty of monitoring your Raspberry Pi behind a firewall, let’s take a moment to understand what exactly a Raspberry Pi is and why it’s such a game-changer. The Raspberry Pi is essentially a tiny, affordable computer that can be used for a wide range of projects, from home automation to media streaming. It’s super versatile and can be customized to fit almost any need.
Now, when it comes to using a Raspberry Pi behind a firewall, things can get a bit complicated. Firewalls are designed to block unauthorized access, which is awesome for security but not so great when you need to monitor your device remotely. But fear not! With the right tools and techniques, you can still keep an eye on your Raspberry Pi without compromising your network’s security.
Why Monitor Your Raspberry Pi?
Monitoring your Raspberry Pi is essential for several reasons. First and foremost, it allows you to keep track of its performance and ensure everything is running smoothly. Whether you’re using it as a server, a media center, or even a security system, having visibility into its status can help you catch issues before they become major problems.
- Ullu Video Hot The Ultimate Guide To Indias Trendiest Digital Content
- How Many Kids Does Aaron Donald Have Unveiling The Personal Life Of An Nfl Legend
- Monitor system performance and resource usage.
- Track uptime and downtime to ensure reliability.
- Receive alerts for potential security threats or unusual activity.
By staying on top of these metrics, you can optimize your Raspberry Pi setup and make sure it’s always functioning at its best.
Setting Up Your Raspberry Pi for Remote Access
Alright, let’s get our hands dirty and start setting up your Raspberry Pi for remote monitoring. The first step is to ensure your Pi is properly configured and connected to your network. This involves installing the necessary software, setting up SSH, and configuring your firewall settings.
Installing Raspbian OS
The first thing you’ll need to do is install Raspbian OS on your Raspberry Pi. Raspbian is the official operating system for Raspberry Pi and comes packed with all the tools you’ll need to get started. You can download the latest version from the official Raspberry Pi website and follow the installation instructions to set it up on your SD card.
Once installed, boot up your Raspberry Pi and make sure it’s connected to your local network. You can do this by either connecting it via Ethernet or setting up Wi-Fi through the Raspbian interface.
Configuring SSH for Secure Communication
SSH (Secure Shell) is a protocol that allows you to securely connect to your Raspberry Pi from another device. It’s essential for remote monitoring, as it provides a secure way to access your Pi’s terminal and execute commands.
To enable SSH on your Raspberry Pi, open the terminal and type the following command:
sudo raspi-config
From there, navigate to “Interfacing Options” and enable SSH. Once enabled, you can connect to your Pi from your Mac using an SSH client like Terminal or PuTTY.
Tips for Secure SSH Connections
While SSH is secure by default, there are a few extra steps you can take to enhance its security:
- Change the default SSH port to something other than 22.
- Disable root login to prevent unauthorized access.
- Use key-based authentication instead of passwords.
These measures will help protect your Raspberry Pi from potential attacks and ensure your remote connection remains secure.
Dealing with Firewalls: The Big Challenge
Now we come to the tricky part—firewalls. Firewalls are designed to block unauthorized access, which can make remote monitoring a bit challenging. However, with the right configuration, you can still access your Raspberry Pi from behind a firewall without compromising your network’s security.
Configuring Your Firewall for Raspberry Pi Access
The exact steps for configuring your firewall will depend on the type of firewall you’re using. However, the general idea is to create a rule that allows incoming traffic on the SSH port (or whatever port you’ve configured for SSH) to reach your Raspberry Pi.
Here’s a basic guide to setting up a firewall rule:
- Log in to your firewall’s admin interface.
- Create a new rule that allows traffic on the specified port.
- Set the destination IP address to your Raspberry Pi’s local IP address.
Once the rule is in place, you should be able to connect to your Raspberry Pi from outside your network.
Using Port Forwarding for Remote Access
Port forwarding is another technique you can use to access your Raspberry Pi behind a firewall. It involves configuring your router to forward incoming traffic on a specific port to your Raspberry Pi’s local IP address.
To set up port forwarding, follow these steps:
- Log in to your router’s admin interface.
- Find the port forwarding settings and create a new rule.
- Set the external port to the port you want to use for SSH (e.g., 2222).
- Set the internal port to the SSH port on your Raspberry Pi (e.g., 22).
- Set the destination IP address to your Raspberry Pi’s local IP address.
With port forwarding set up, you can connect to your Raspberry Pi from outside your network by specifying the external port in your SSH connection.
Monitoring Raspberry Pi from Your Mac
Now that your Raspberry Pi is set up for remote access, let’s talk about how to monitor it from your Mac. There are several tools and techniques you can use to keep an eye on your Pi’s performance and status.
Using Terminal for SSH Access
One of the easiest ways to monitor your Raspberry Pi from your Mac is by using the Terminal app. Simply open Terminal and type the following command:
ssh pi@
Replace
Third-Party Monitoring Tools
There are also several third-party tools you can use to monitor your Raspberry Pi. Some popular options include:
- Grafana: A powerful tool for visualizing system metrics and performance data.
- Prometheus: An open-source monitoring system that integrates with Grafana for advanced analytics.
- Home Assistant: A home automation platform that can monitor and control your Raspberry Pi.
These tools can provide valuable insights into your Raspberry Pi’s performance and help you identify potential issues before they become serious problems.
Best Practices for Secure Monitoring
When it comes to monitoring your Raspberry Pi, security should always be a top priority. Here are a few best practices to keep in mind:
- Always use strong passwords and enable two-factor authentication whenever possible.
- Keep your software and firmware up to date to protect against known vulnerabilities.
- Regularly review your firewall and port forwarding rules to ensure they’re still necessary.
By following these best practices, you can enjoy the benefits of remote monitoring while keeping your network secure.
Troubleshooting Common Issues
Even with the best setup, things can sometimes go wrong. Here are a few common issues you might encounter when monitoring your Raspberry Pi behind a firewall, along with some tips for troubleshooting:
Connection Refused Errors
If you’re getting a “connection refused” error, it could mean that your firewall or router is blocking the connection. Double-check your firewall and port forwarding rules to ensure they’re correctly configured.
SSH Authentication Failures
If you’re having trouble authenticating via SSH, make sure you’re using the correct username and password. If you’ve set up key-based authentication, ensure your keys are properly configured on both your Mac and Raspberry Pi.
Conclusion: Take Control of Your Raspberry Pi
Monitoring your Raspberry Pi behind a firewall doesn’t have to be a headache. With the right tools and techniques, you can keep an eye on your device’s performance and status from anywhere in the world. Whether you’re using SSH, port forwarding, or third-party monitoring tools, the key is to stay organized and prioritize security.
So what are you waiting for? Take control of your Raspberry Pi and start exploring all the amazing things it can do. And don’t forget to share your experience with us in the comments below. Who knows—you might just inspire someone else to take the plunge into the world of Raspberry Pi!
Daftar Isi
Understanding Raspberry Pi and Its Role in Your Network
Setting Up Your Raspberry Pi for Remote Access
Configuring SSH for Secure Communication
Dealing with Firewalls: The Big Challenge
Using Port Forwarding for Remote Access
Monitoring Raspberry Pi from Your Mac
Best Practices for Secure Monitoring
Conclusion: Take Control of Your Raspberry Pi
Subheading
Why Monitor Your Raspberry Pi?
Tips for Secure SSH Connections
Configuring Your Firewall for Raspberry Pi Access

Detail Author:
- Name : Dr. Bernadine Bergnaum DDS
- Username : amara.farrell
- Email : grant.layne@gmail.com
- Birthdate : 1975-10-14
- Address : 471 Lucinda Plaza Schoenview, AL 78043-1060
- Phone : +1 (458) 559-3625
- Company : Heathcote, Koch and Hegmann
- Job : Soil Conservationist
- Bio : Qui non quisquam maxime eum voluptatem ut commodi. Tempora id aut sint accusantium dolores consectetur sit. Alias sunt dolorem molestias tenetur. Quia animi enim eveniet fugiat dolores.
Socials
tiktok:
- url : https://tiktok.com/@jabari.sporer
- username : jabari.sporer
- bio : Quas aliquid deserunt et et qui itaque nulla.
- followers : 512
- following : 2266
twitter:
- url : https://twitter.com/jabari_sporer
- username : jabari_sporer
- bio : Ea dolorem vero inventore amet eius minus natus. Provident ut voluptas non illum iusto qui atque. Velit velit earum quas consectetur dolorem rerum qui non.
- followers : 1027
- following : 673
linkedin:
- url : https://linkedin.com/in/jabari_official
- username : jabari_official
- bio : Maxime enim et aut.
- followers : 6794
- following : 1527
facebook:
- url : https://facebook.com/sporerj
- username : sporerj
- bio : Quia omnis accusantium deserunt voluptatem dignissimos magnam pariatur.
- followers : 1321
- following : 2017
