SSH To Raspberry Pi Behind Firewall Without MAC: The Ultimate Guide
Ever wondered how to SSH into your Raspberry Pi when it's behind a firewall without using its MAC address? Well, buckle up because we're diving deep into this tech rabbit hole! If you're a DIY enthusiast, developer, or just someone trying to remotely access your Pi from anywhere, this is the article for you. We'll break down everything step by step so even beginners can follow along.
Let's face it—firewalls are great for security, but they can be a real pain when you need remote access. Whether you're tinkering with IoT projects or managing a home server, having SSH access to your Raspberry Pi is crucial. But what happens when your network setup blocks traditional methods? That's where this guide comes in handy.
Don't worry; we'll cover all the bases, including setting up port forwarding, using dynamic DNS, and even exploring advanced tools like ngrok. By the time you're done reading, you'll have the skills to SSH into your Pi like a pro, no MAC address required. So grab your coffee, and let's get started!
- Burger King Racist The Untold Story You Need To Know About
- Nikki Velayo Telegram The Ultimate Guide To Her Journey Influence And Impact
Table of Contents
- What is SSH?
- Raspberry Pi Setup
- Firewall Basics
- Port Forwarding
- Dynamic DNS
- Using Ngrok for Easy SSH
- Security Tips
- Troubleshooting
- Alternatives to Traditional SSH
- Conclusion
What is SSH?
Alright, let's start with the basics. SSH stands for Secure Shell, and it's basically a protocol that lets you remotely control another computer over a network. Think of it like logging into your Raspberry Pi from anywhere in the world as long as you have internet access. Cool, right?
SSH is super secure because it encrypts all data sent between your device and the Pi. This means no one can snoop on your commands or files while they're being transferred. Plus, it's super versatile—you can use SSH for file transfers, running scripts, or even setting up web servers.
Why Use SSH for Raspberry Pi?
Well, the Raspberry Pi is basically a tiny computer, and SSH gives you the power to control it from afar. Whether you're managing a home automation system or hosting a personal website, SSH makes life easier. Plus, it's free and comes pre-installed on most Pi operating systems!
- Gianna Nannini Carla Accardi A Fascinating Journey Of Two Icons
- Desihubcom Your Ultimate Destination For Creative Content And Digital Solutions
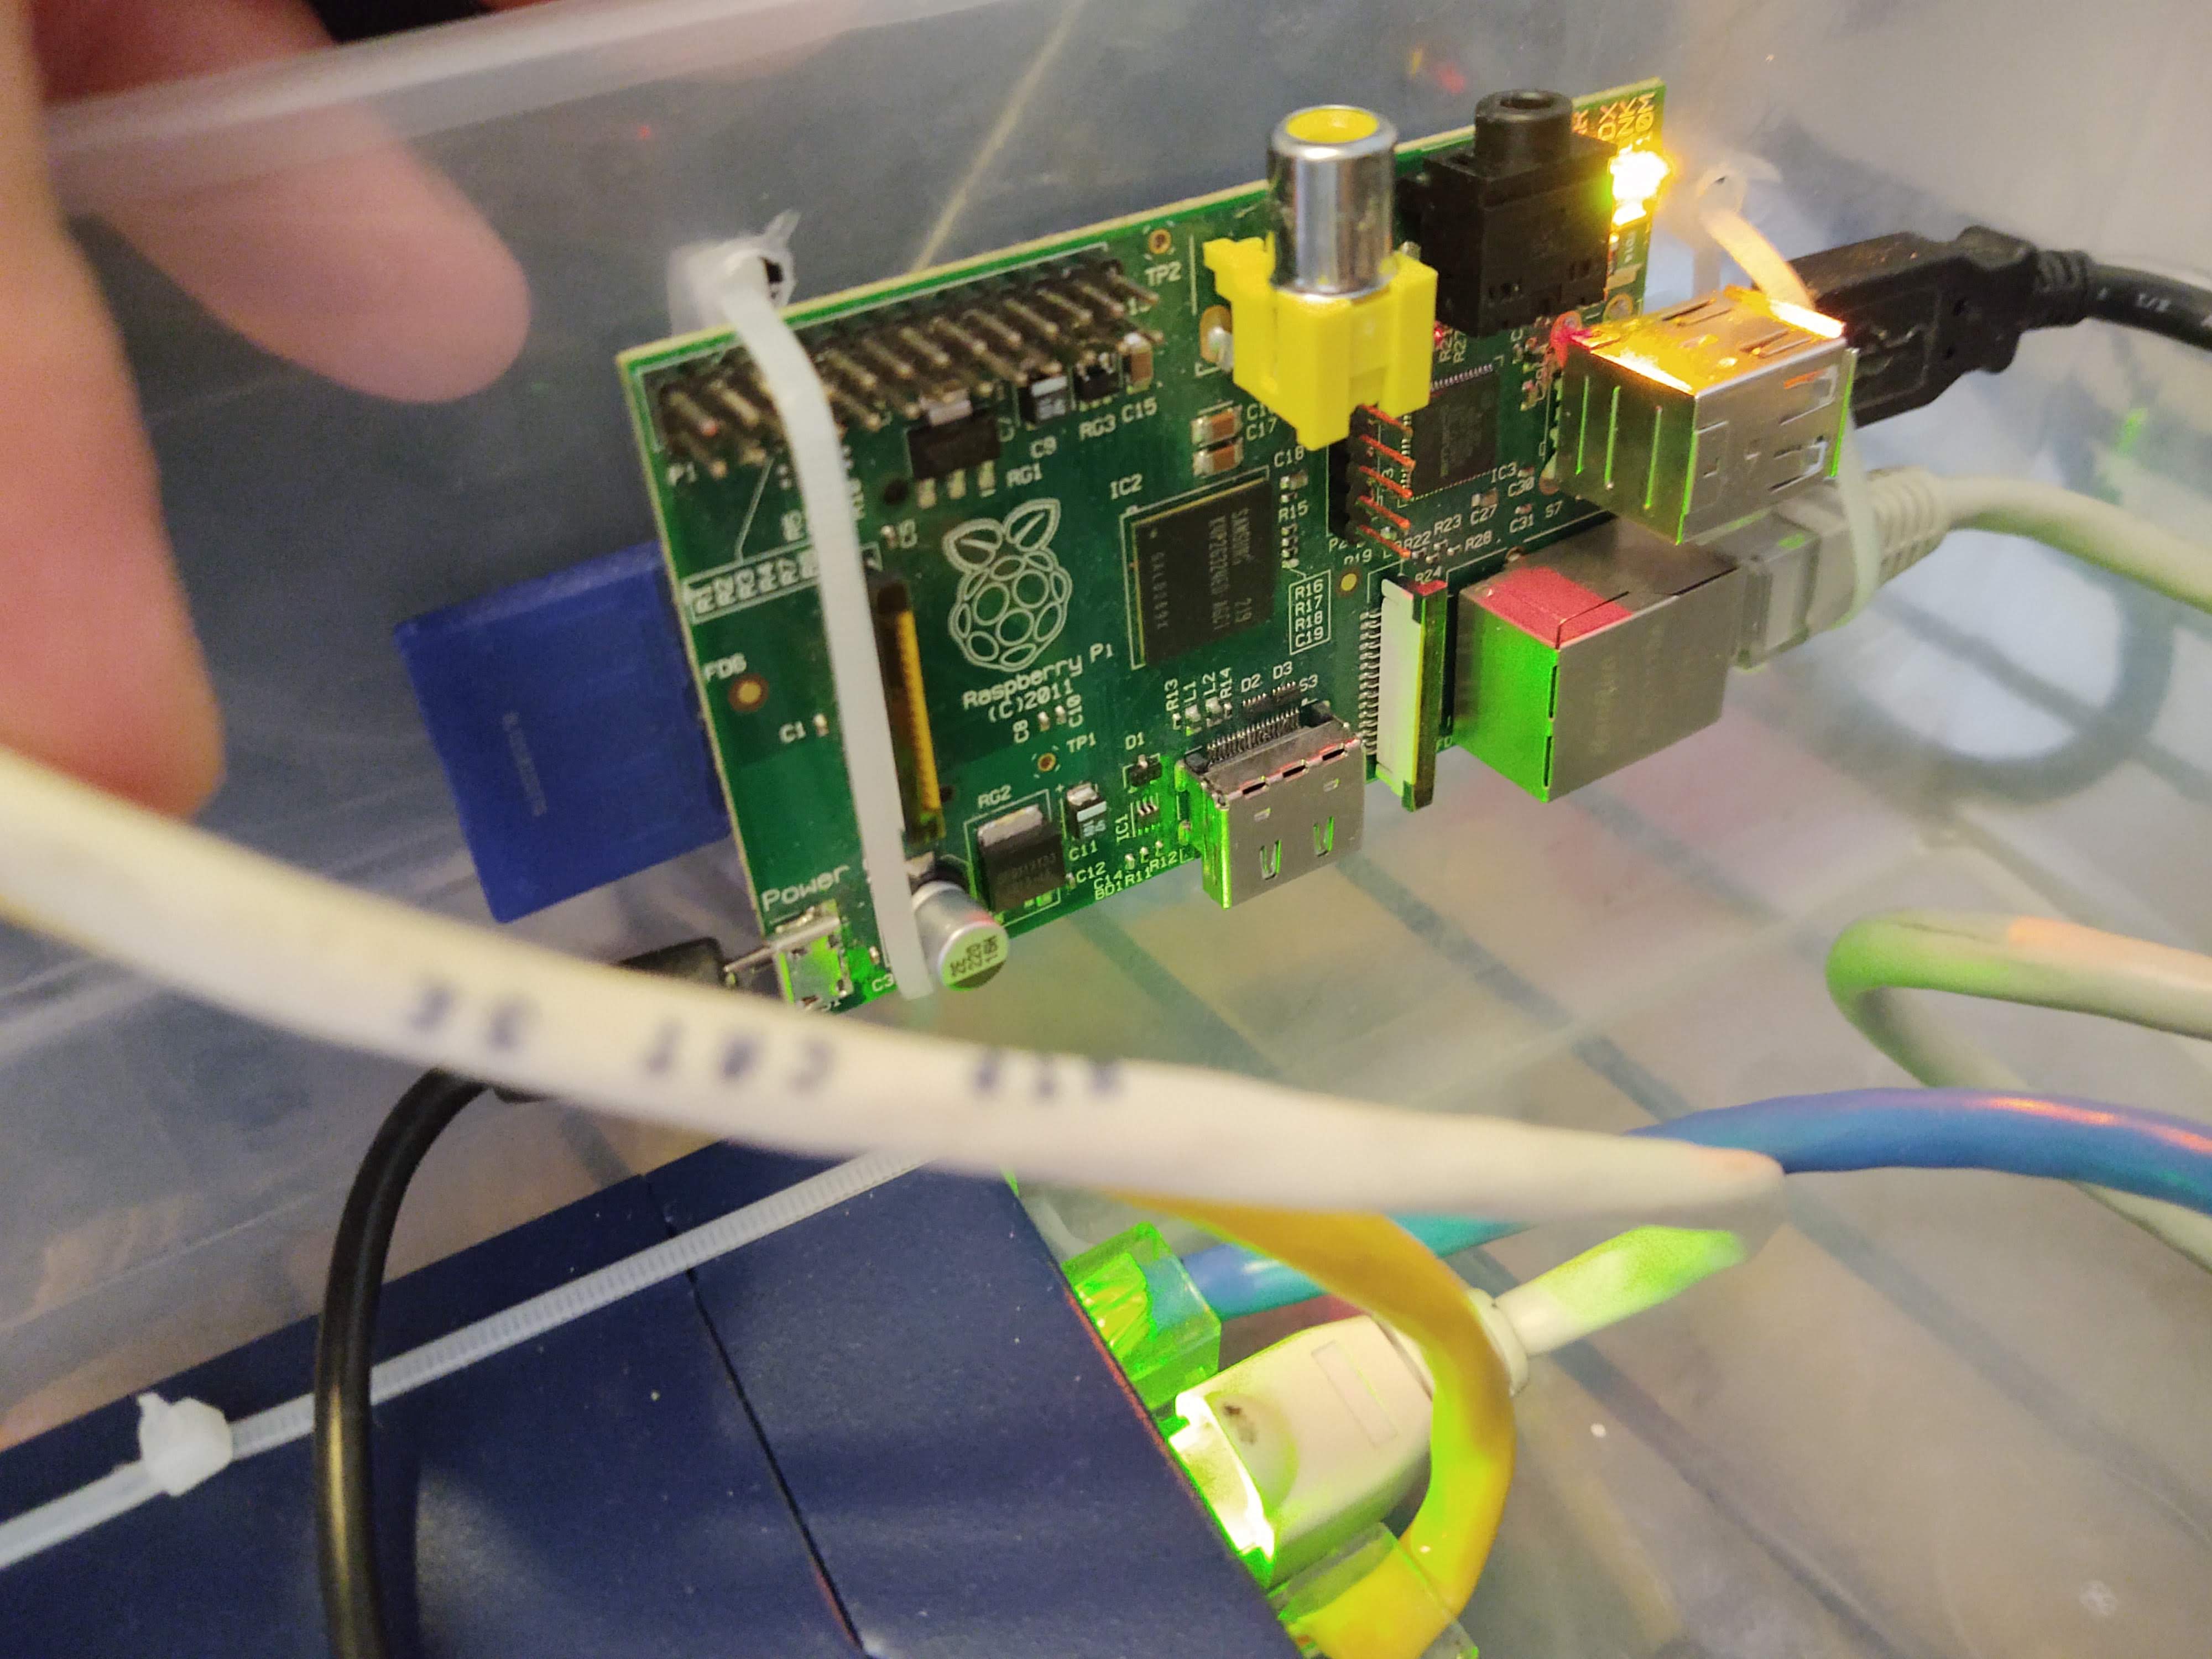
Raspberry Pi Setup
Before we dive into the firewall stuff, let's make sure your Pi is ready to rock. First things first, you'll need to enable SSH on your Raspberry Pi. Don't sweat it—it's super easy!
Here's what you need to do:
- Boot up your Raspberry Pi and log in.
- Open the terminal and type
sudo raspi-config. - Use the arrow keys to navigate to "Interfacing Options" and hit Enter.
- Select "SSH" and enable it.
- Reboot your Pi for good measure.
Boom! Your Pi is now SSH-ready. Next, let's figure out its local IP address. In the terminal, type hostname -I. You'll see something like 192.168.1.100. Write that down; you'll need it later.
Firewall Basics
Now, let's talk about firewalls. A firewall is basically a security system that controls incoming and outgoing network traffic. It's like a bouncer at a club—only letting in the people (or packets) it trusts.
The problem is, firewalls can block SSH connections if they're not properly configured. That's why we need to tweak some settings to make sure our Pi can be reached from outside the network.
Types of Firewalls
There are two main types of firewalls you might encounter:
- Software Firewalls: These run on individual devices, like Windows Defender on your laptop.
- Hardware Firewalls: These are usually built into your router and protect your entire network.
For this guide, we'll focus on hardware firewalls since they're the ones most likely blocking your SSH access.
Port Forwarding
Port forwarding is the secret sauce for accessing your Pi from outside the firewall. Think of it like giving your Pi a special mailbox where it can receive SSH requests. Here's how it works:
SSH uses port 22 by default, so we need to tell our router to forward incoming traffic on that port to our Pi's local IP address. Sounds complicated? It's actually pretty straightforward.
Steps to Set Up Port Forwarding
Here's what you need to do:
- Log in to your router's admin page. Usually, you can do this by typing
192.168.1.1into your browser. - Find the "Port Forwarding" section. It might be under "Advanced" or "NAT Settings."
- Create a new rule and set the following:
- Service Name: SSH
- External Port: 22
- Internal IP Address: Your Pi's local IP
- Internal Port: 22
- Save the changes and restart your router.
And just like that, your Pi is now accessible from outside the firewall!
Dynamic DNS
But wait, there's one more piece to the puzzle—your router's IP address. Most home internet connections use dynamic IP addresses, which means they can change every time you reboot your router. Not ideal if you're trying to SSH into your Pi.
That's where dynamic DNS (DDNS) comes in. DDNS services assign a hostname to your router's IP address and update it automatically if it changes. Think of it like a nickname for your router that never changes.
Setting Up DDNS
Here's how to set it up:
- Sign up for a DDNS service like No-IP or DuckDNS.
- Create a hostname, like
myraspberrypi.ddns.net. - Follow the service's instructions to configure it on your router.
- Test it out by pinging your hostname from another device.
With DDNS, you can SSH into your Pi using a consistent hostname instead of worrying about IP changes.
Using Ngrok for Easy SSH
Still feeling overwhelmed? Don't worry—there's an easier way. Ngrok is a tool that creates a secure tunnel to your Pi, bypassing the need for port forwarding and DDNS altogether.
Here's how to use it:
- Download and install Ngrok on your Pi.
- Run the command
ngrok tcp 22in the terminal. - Ngrok will give you a public URL that you can use to SSH into your Pi.
It's like magic! You can now SSH into your Pi from anywhere using that URL.
Security Tips
Now that you can SSH into your Pi, let's talk about security. You don't want random strangers poking around your network, do you? Here are some tips to keep your Pi safe:
- Change the Default SSH Port: Instead of using port 22, switch to something less common, like 2222. This makes it harder for hackers to find your Pi.
- Use Strong Passwords: Avoid using "raspberry" as your password. Make it long and complex.
- Enable Key-Based Authentication: This is way more secure than passwords. Generate an SSH key pair and add the public key to your Pi's
~/.ssh/authorized_keysfile. - Limit SSH Access: Restrict SSH access to specific IP addresses if possible.
By following these tips, you'll make your Pi a much harder target for attackers.
Troubleshooting
Even the best-laid plans can go awry. If you're having trouble SSHing into your Pi, here are some common issues and solutions:
- Can't Connect: Double-check your port forwarding settings and make sure your Pi's IP hasn't changed.
- Connection Refused: Ensure SSH is enabled on your Pi and that your router isn't blocking the port.
- Timeout Errors: Try resetting your router or restarting your Pi.
Still stuck? Google is your friend—chances are someone else has had the same issue and posted a solution online.
Alternatives to Traditional SSH
If SSH isn't cutting it for you, there are other ways to remotely access your Pi:
- VNC: Virtual Network Computing lets you control your Pi's graphical interface from another computer.
- Web-Based Interfaces: Tools like Pi-Hole offer web-based dashboards for managing your Pi.
- Cloud Services: Platforms like AWS IoT Core can help you connect your Pi to the cloud.
These alternatives might be worth exploring depending on your specific needs.
Conclusion
And there you have it—everything you need to know about SSHing into your Raspberry Pi behind a firewall without using its MAC address. From setting up port forwarding to exploring tools like ngrok, we've covered all the bases to make your remote access dreams a reality.
Remember, security is key. Always take the necessary precautions to protect your Pi from unauthorized access. And if you ever get stuck, don't hesitate to reach out to the Raspberry Pi community—they're a friendly bunch!
So what are you waiting for? Go forth and SSH! And don't forget to share this article with your tech-savvy friends. Who knows, you might just inspire someone to start their own Raspberry Pi adventure.


Detail Author:
- Name : Kevin McDermott
- Username : herzog.donavon
- Email : bergstrom.delores@kovacek.com
- Birthdate : 1979-01-01
- Address : 92199 Luigi Green Port Kailynmouth, OR 12864
- Phone : (541) 585-3223
- Company : Koss-Ferry
- Job : Railroad Switch Operator
- Bio : Delectus accusamus vel fugit debitis est et. Sit nam repudiandae vel consequatur corporis ut.
Socials
twitter:
- url : https://twitter.com/titusdibbert
- username : titusdibbert
- bio : Excepturi quis quam ratione vero. Esse nam quo quaerat.
- followers : 1240
- following : 75
instagram:
- url : https://instagram.com/titusdibbert
- username : titusdibbert
- bio : Sint quae pariatur ad aliquid voluptatem vitae minus. Eos neque omnis impedit ut nihil.
- followers : 6345
- following : 841
facebook:
- url : https://facebook.com/titus_dev
- username : titus_dev
- bio : Blanditiis dignissimos odit rem adipisci. Omnis consequatur eos et dolorum.
- followers : 3219
- following : 680
