Unlocking The Power Of Raspberry Pi Secure Tunnel: Your Ultimate Guide
Ever wondered how you can securely connect your Raspberry Pi to the outside world? Well, buckle up because we’re diving deep into the world of Raspberry Pi Secure Tunnel, and trust me, it’s about to get interesting. Whether you’re a tech enthusiast or just someone looking to enhance your home network security, this guide has got you covered. We’ll break down everything you need to know, from setting up secure tunnels to troubleshooting common issues. So, let’s get started, shall we
Now, you might be thinking, “Why do I even need a secure tunnel for my Raspberry Pi?” Great question! In today’s interconnected world, security is more important than ever. A Raspberry Pi secure tunnel ensures that your data stays private and protected as it travels across networks. Think of it like a secret pathway that only you and your devices can access. Pretty cool, right?
Before we dive into the nitty-gritty, let’s talk about why this topic matters. If you’re using a Raspberry Pi for anything from home automation to remote server management, having a secure tunnel is essential. It’s not just about protecting your data; it’s about safeguarding your entire digital ecosystem. So, whether you’re a beginner or a seasoned pro, this guide will help you master the art of Raspberry Pi secure tunneling.
- Zayn Malik Low Taper Fade The Ultimate Guide To Achieving The Perfect Look
- Isabella Elei Age The Rising Star Taking The World By Storm
What is Raspberry Pi Secure Tunnel Anyway?
Alright, let’s start with the basics. A Raspberry Pi secure tunnel is essentially a secure connection between your Raspberry Pi and another device or network. It uses encryption to protect your data as it moves between these points. Think of it like a virtual private network (VPN), but specifically tailored for your Raspberry Pi projects.
Here’s the deal: when you set up a secure tunnel, you’re creating a direct line of communication that’s protected from prying eyes. This is especially important if you’re accessing your Raspberry Pi remotely, say from a coffee shop or while traveling. Without a secure tunnel, your data could be vulnerable to hackers and other malicious actors.
Why Should You Care About Secure Tunnels?
Let’s break it down with some bullet points:
- Ragebait Monkey Picture The Hilarious Phenomenon Taking Over The Internet
- Peyton Coffee Leaked Pics The Untold Story Behind The Scenes
- Protects sensitive data from unauthorized access.
- Ensures secure remote access to your Raspberry Pi.
- Helps prevent man-in-the-middle attacks.
- Enhances overall network security.
These benefits aren’t just fluff; they’re real-world advantages that can make a huge difference in how you use your Raspberry Pi. Whether you’re running a home server or managing IoT devices, a secure tunnel is your first line of defense.
Setting Up Your Raspberry Pi Secure Tunnel
Now that you know why secure tunnels are important, let’s talk about how to set one up. Don’t worry; it’s not as complicated as it sounds. With a few steps and some basic knowledge, you’ll have your Raspberry Pi locked down in no time.
Step 1: Install the Necessary Software
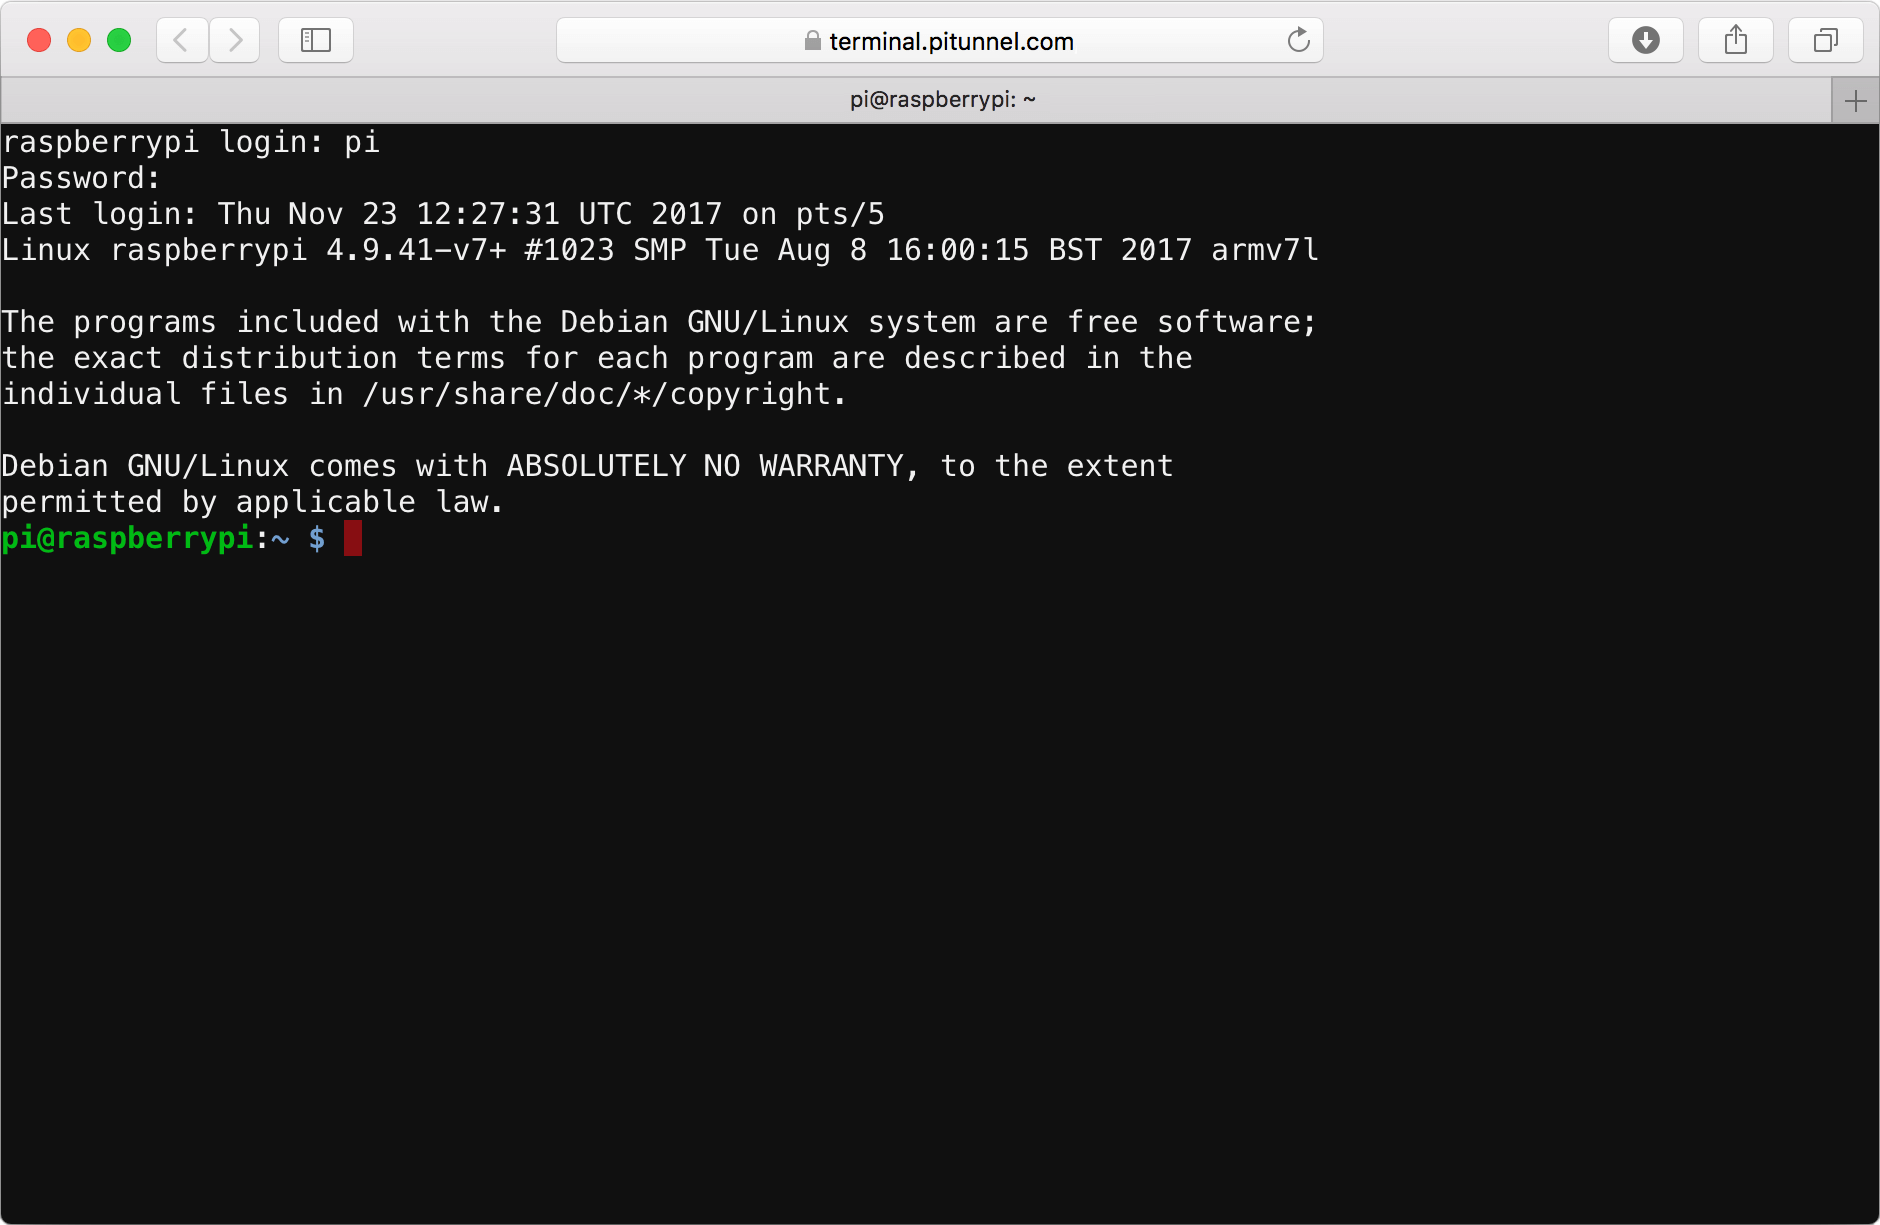
The first thing you’ll need to do is install the software that’ll facilitate your secure tunnel. Most people opt for SSH (Secure Shell) because it’s reliable and easy to set up. Here’s how you do it:
- Open your terminal on your Raspberry Pi.
- Type
sudo apt updateto ensure your package list is up to date. - Then, type
sudo apt install openssh-serverto install the SSH server.
That’s it! You’ve now installed the foundation for your secure tunnel.
Step 2: Configure Your Firewall
Next up, you’ll want to configure your firewall to allow SSH traffic. This step is crucial because it ensures that only authorized connections can access your Raspberry Pi. Here’s how you do it:
- Install UFW (Uncomplicated Firewall) by typing
sudo apt install ufw. - Allow SSH traffic by typing
sudo ufw allow ssh. - Finally, enable the firewall with
sudo ufw enable.
And just like that, your firewall is ready to protect your Raspberry Pi.
Understanding SSH and Its Role in Secure Tunnels
SSH, or Secure Shell, is the backbone of most Raspberry Pi secure tunnels. It’s a protocol that allows you to securely access your Raspberry Pi from another device. But what makes SSH so special? Let’s take a closer look:
How SSH Works
SSH uses encryption to protect your data as it travels between devices. When you connect to your Raspberry Pi via SSH, the connection is encrypted, making it nearly impossible for anyone to intercept your data. This is why SSH is the go-to choice for secure tunneling.
Benefits of Using SSH
Here are a few reasons why SSH is such a popular choice:
- Highly secure and reliable.
- Easy to set up and use.
- Supports a wide range of applications.
Whether you’re managing a server or controlling IoT devices, SSH has got you covered.
Advanced Techniques for Raspberry Pi Secure Tunnel
Once you’ve got the basics down, you can start exploring some advanced techniques to take your secure tunnel to the next level. These methods can enhance your security and make your Raspberry Pi even more powerful.
Using SSH Keys for Authentication
Instead of relying on passwords, you can use SSH keys for authentication. This method is more secure and convenient, as it eliminates the need to enter a password every time you connect. Here’s how you do it:
- Generate an SSH key pair on your local machine by typing
ssh-keygen. - Copy the public key to your Raspberry Pi by typing
ssh-copy-id pi@your-raspberry-pi-ip. - Disable password authentication by editing the SSH config file (
/etc/ssh/sshd_config) and settingPasswordAuthentication no.
With SSH keys in place, your Raspberry Pi is now more secure than ever.
Setting Up a Reverse SSH Tunnel
A reverse SSH tunnel allows you to access your Raspberry Pi from outside your local network. This is especially useful if you’re traveling or working remotely. Here’s how you do it:
- Find a server with a public IP address that you can use as a middleman.
- On your Raspberry Pi, type
ssh -R 2222:localhost:22 user@middleman-server. - Now, from your remote location, type
ssh pi@middleman-server -p 2222to connect to your Raspberry Pi.
Voilà! You’ve now set up a reverse SSH tunnel.
Troubleshooting Common Issues
Even the best-laid plans can go awry, and sometimes things don’t work as expected. Here are some common issues you might encounter when setting up a Raspberry Pi secure tunnel, along with solutions:
Problem: Can’t Connect to Raspberry Pi via SSH
Solution: Check that the SSH service is running on your Raspberry Pi. You can do this by typing sudo systemctl status ssh. If it’s not running, start it with sudo systemctl start ssh.
Problem: Firewall Blocking SSH Traffic
Solution: Make sure your firewall is configured to allow SSH traffic. You can check this by typing sudo ufw status and ensuring that SSH is listed as allowed.
Best Practices for Raspberry Pi Secure Tunnel
To ensure your Raspberry Pi secure tunnel is as robust as possible, follow these best practices:
- Always use the latest version of Raspbian or your preferred operating system.
- Regularly update your software to patch security vulnerabilities.
- Use strong passwords or SSH keys for authentication.
- Limit access to your Raspberry Pi to trusted devices and networks.
By following these guidelines, you’ll be well on your way to creating a secure and reliable tunnel for your Raspberry Pi.
Real-World Applications of Raspberry Pi Secure Tunnel
Now that you know how to set up a secure tunnel, let’s talk about some real-world applications. Here are a few examples of how people are using Raspberry Pi secure tunnels in their projects:
Home Automation
Many people use Raspberry Pi secure tunnels to manage their home automation systems. By setting up a secure tunnel, they can control their smart devices from anywhere in the world without worrying about security breaches.
Remote Server Management
If you’re running a web server on your Raspberry Pi, a secure tunnel is essential for remote management. It allows you to access your server securely, no matter where you are.
Conclusion: Take Action Today
There you have it, folks! Everything you need to know about Raspberry Pi secure tunnels. From setting up SSH to troubleshooting common issues, we’ve covered it all. Remember, security is key when it comes to your Raspberry Pi projects. By implementing a secure tunnel, you’re taking a crucial step towards protecting your data and devices.
So, what are you waiting for? Grab your Raspberry Pi and start securing your connections today. And don’t forget to leave a comment or share this article if you found it helpful. Until next time, stay safe and keep hacking!
Table of Contents
- What is Raspberry Pi Secure Tunnel Anyway?
- Setting Up Your Raspberry Pi Secure Tunnel
- Understanding SSH and Its Role in Secure Tunnels
- Advanced Techniques for Raspberry Pi Secure Tunnel
- Troubleshooting Common Issues
- Best Practices for Raspberry Pi Secure Tunnel
- Real-World Applications of Raspberry Pi Secure Tunnel
- Conclusion: Take Action Today

Detail Author:
- Name : Cornell Lowe
- Username : bahringer.jevon
- Email : carol.hartmann@gmail.com
- Birthdate : 1994-12-31
- Address : 7847 Hermann Motorway Suite 535 Braunberg, WY 30687-8670
- Phone : +1-660-870-0039
- Company : Reichert LLC
- Job : Pastry Chef
- Bio : Pariatur deleniti iure minima at iure magni. Qui natus nemo sit eius quo laboriosam beatae eum. Cumque excepturi aut vel iste ea debitis mollitia dolor.
Socials
facebook:
- url : https://facebook.com/bschultz
- username : bschultz
- bio : Velit ratione nulla accusantium mollitia voluptatem dolor.
- followers : 5342
- following : 1687
instagram:
- url : https://instagram.com/schultz2009
- username : schultz2009
- bio : Labore ut ea eveniet incidunt ullam eos ullam. Alias libero commodi nobis odio natus praesentium.
- followers : 2345
- following : 1411
tiktok:
- url : https://tiktok.com/@bschultz
- username : bschultz
- bio : Quas fuga maxime voluptas a et doloremque et perspiciatis.
- followers : 831
- following : 658
linkedin:
- url : https://linkedin.com/in/bschultz
- username : bschultz
- bio : Repudiandae quia suscipit eligendi quos.
- followers : 535
- following : 2258
