Wallet Size Photo Dimensions: A Comprehensive Guide To Perfect Prints
Ever wondered what the deal is with wallet size photos? You're not alone, my friend. Whether you're preparing for a passport application, crafting a scrapbook, or just trying to get that perfect ID pic, understanding wallet size photo dimensions is key. This guide will break it down step by step, so you can nail those prints every single time.
Let’s face it—photos are more than just memories; they're a way to capture who we are in a split second. But when it comes to wallet size photos, there’s a whole lot of confusion out there. From dimensions to resolutions, it’s easy to get lost in the details. That’s why we’re here—to make sure you don’t trip up when printing those tiny yet mighty pics.
We’ll dive deep into everything you need to know about wallet size photo dimensions, including the standard sizes, file formats, editing tips, and even some common mistakes to avoid. So buckle up, because this is going to be a comprehensive ride!
- Lifestyle Updates Allstarstate The Ultimate Guide To Elevating Your Daily Life
- Brooke Monk Deepfake Nudes The Truth Behind The Controversy
Table of Contents
- What Are Wallet Size Photos?
- Standard Dimensions for Wallet Size Photos
- Best File Formats for Wallet Size Photos
- Why Resolution Matters
- Editing Tips for Perfect Wallet Photos
- Printing Options and Tips
- Common Mistakes to Avoid
- Handling Custom Requests
- Legal Requirements for ID Photos
- Final Thoughts
What Are Wallet Size Photos?
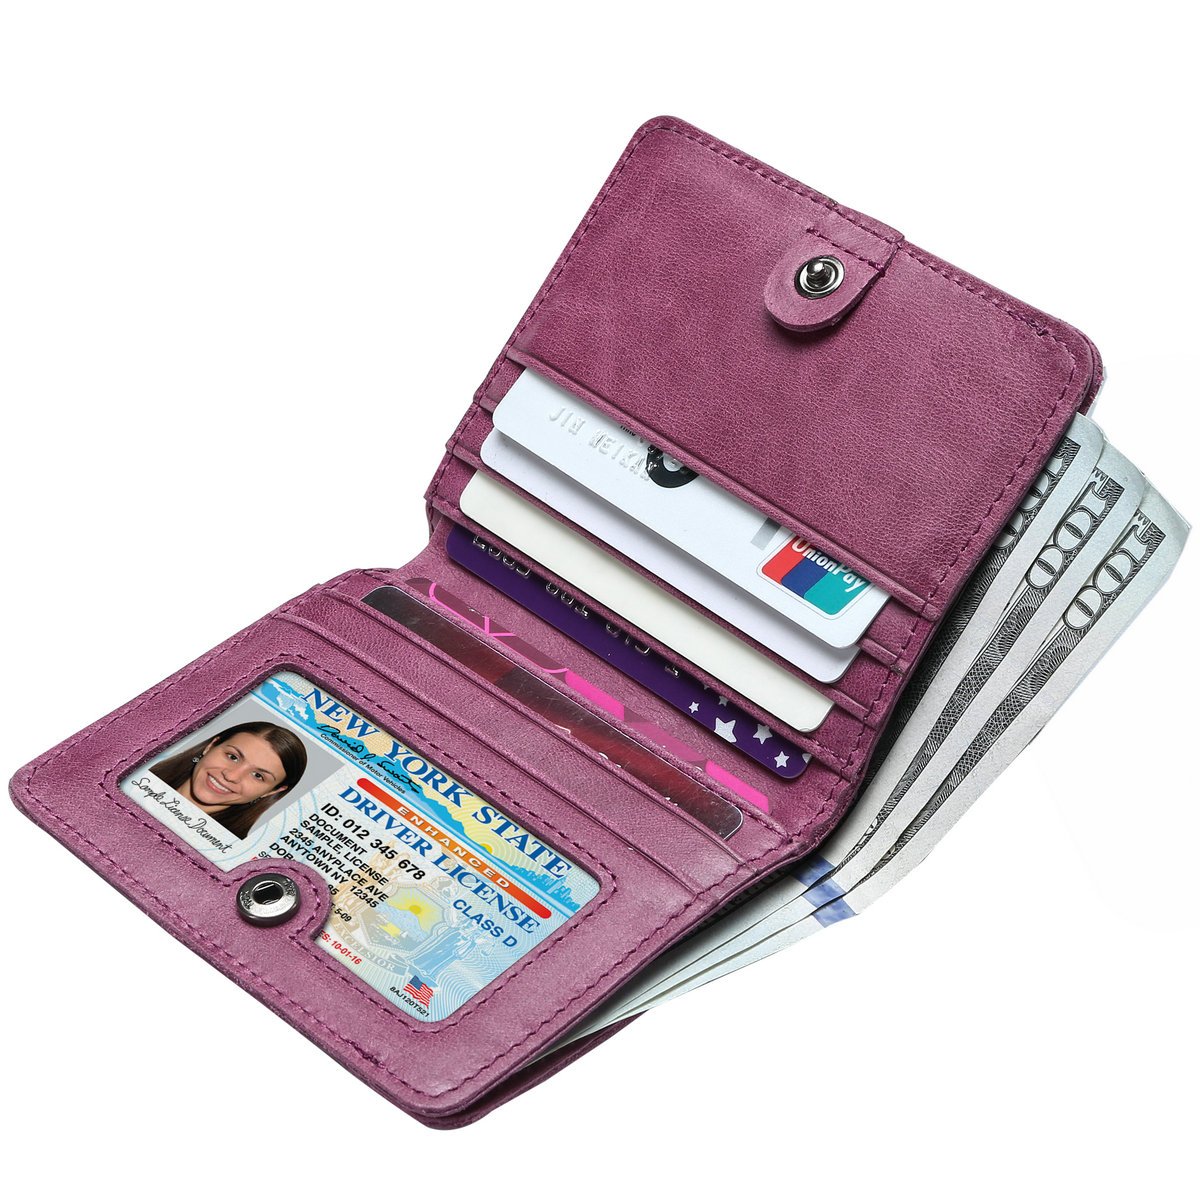
Wallet size photos are small, compact prints designed to fit conveniently in your wallet or purse. They’re typically used for identification purposes, such as passports, driver’s licenses, and school IDs. But they’ve also become popular for personal keepsakes, like family portraits or travel memories.
But here’s the kicker: Not all wallet size photos are created equal. Depending on where you’re submitting them, the dimensions and requirements might vary slightly. So, it’s crucial to know exactly what you’re dealing with before you start snapping pics.
In this section, we’ll explore the basics of wallet size photos and why they matter in both professional and personal contexts.
- Adriana Gillett The Rising Star Whorsquos Capturing Hearts
- Macaulay Culkin Height The Truth Behind The Stars Stature
Why Are Wallet Size Photos Important?
Wallet size photos aren’t just about convenience; they’re about clarity. When you submit a photo for official use, it needs to meet specific standards to ensure it’s recognizable and compliant with regulations. Think about it—would you want a blurry or distorted picture on your ID? Probably not.
Plus, wallet size photos have a way of making those precious moments feel extra special. They’re small enough to carry around but detailed enough to preserve the essence of the moment. And let’s be honest—who doesn’t love a good throwback pic in their wallet?
Standard Dimensions for Wallet Size Photos
Now, let’s talk dimensions. Wallet size photos come in a variety of standard sizes, depending on the region and purpose. Here’s a quick rundown:
- US Standard: 2 inches x 1.5 inches (51mm x 38mm)
- UK Standard: 35mm x 45mm
- European Standard: 35mm x 45mm
- Australian Standard: 35mm x 45mm
These dimensions are pretty much the gold standard for wallet size photos. However, always double-check the requirements for your specific use case. Some organizations might have slightly different specs.
How to Measure Wallet Size Photos
Measuring wallet size photos is a piece of cake. All you need is a ruler or a digital measurement tool. If you’re printing at home, make sure your photo editing software allows you to set custom dimensions. Most programs, like Photoshop or GIMP, have this feature built-in.
And hey, if you’re feeling lazy, there are plenty of online tools that can help you crop and resize your photos to the perfect dimensions. Just Google "wallet size photo editor" and you’ll find a ton of options.
Best File Formats for Wallet Size Photos
When it comes to file formats, JPEG and PNG are the go-to choices for wallet size photos. Here’s why:
- JPEG: Great for compressing images without losing too much quality. Perfect for printing.
- PNG: Ideal if you need transparency or higher quality for digital use.
While other formats like TIFF or BMP are available, they’re usually overkill for wallet size photos. Stick with JPEG or PNG unless you have a specific reason to use something else.
Pro Tip: Always save a backup copy of your original photo before editing. That way, if anything goes wrong, you can start fresh without losing the original image.
Why Resolution Matters
Resolution is the unsung hero of wallet size photos. It determines how sharp and clear your image will look when printed. For wallet size photos, aim for a resolution of at least 300 DPI (dots per inch). This ensures that your prints will be crisp and detailed, even at such a small size.
But what happens if your resolution is too low? Well, you’ll end up with a blurry, pixelated mess. Not exactly ideal for an ID photo, right?
How to Check and Adjust Resolution
Most photo editing software will allow you to check and adjust the resolution of your image. Here’s how:
- Open your photo in your preferred editing program.
- Look for the image properties or settings menu.
- Check the resolution (it should be listed in DPI).
- If necessary, adjust the resolution to 300 DPI or higher.
Simple, right? Just remember—don’t go overboard with the resolution. Anything above 300 DPI won’t make a noticeable difference in print quality.
Editing Tips for Perfect Wallet Photos
Editing your wallet size photos can make a world of difference. Here are a few tips to help you get that perfect print:
- Crop Carefully: Use a crop tool to ensure your photo fits the exact dimensions required.
- Adjust Lighting: Brighten or darken the image as needed to bring out facial features.
- Remove Background Noise: A clean, neutral background is essential for official ID photos.
- Check for Blemishes: Use a spot removal tool to get rid of any unwanted marks or distractions.
And don’t forget to save multiple versions of your edited photo. That way, you can compare them side by side and choose the best one.
Using Online Tools
If you’re not a pro at photo editing, don’t worry. There are tons of online tools that can help you edit wallet size photos with ease. Some popular options include:
- Canva
- Pixlr
- Fotor
These tools are user-friendly and often come with pre-set templates for wallet size photos. Just upload your image, follow the prompts, and voilà—you’ve got a perfectly edited photo ready to print.
Printing Options and Tips
Once you’ve edited your wallet size photo, it’s time to print. Here are a few options to consider:
- At Home: If you have a decent printer, you can print wallet size photos right from your computer. Just make sure you have the right paper size and type.
- Professional Printers: For higher quality prints, consider using a professional printing service. They’ll handle all the details for you, ensuring your photos come out looking flawless.
- Online Services: Websites like Snapfish, Shutterfly, and Walgreens offer convenient online printing options. Simply upload your photo, choose your print size, and wait for your prints to arrive.
Pro Tip: Always order a few extra prints just in case. You never know when you might need an extra copy for a last-minute application or gift.
Choosing the Right Paper
The type of paper you use can affect the quality of your wallet size photos. For best results, choose a high-quality photo paper with a glossy or matte finish. This will give your prints a professional look and feel.
And don’t forget to store your prints properly. Use acid-free sleeves or albums to protect them from damage over time.
Common Mistakes to Avoid
Even the best of us make mistakes when it comes to wallet size photos. Here are a few common ones to watch out for:
- Incorrect Dimensions: Double-check the required dimensions before printing. Nothing’s worse than realizing your photo is too big or too small after the fact.
- Poor Lighting: Make sure your photo is well-lit and free of shadows. This will help ensure your facial features are clearly visible.
- Unsuitable Background: Stick with a plain, neutral background. Patterns or busy backgrounds can distract from the main subject.
- Low Resolution: As we mentioned earlier, low resolution can lead to blurry, pixelated prints. Always aim for at least 300 DPI.
By avoiding these common mistakes, you’ll be well on your way to creating wallet size photos that look amazing every time.
Handling Custom Requests
Sometimes, you might need to create wallet size photos with custom dimensions or requirements. Whether it’s for a special project or a unique application, here’s how to handle it:
First, gather all the necessary information. What are the exact dimensions needed? Is there a specific resolution or file format required? Once you have all the details, you can adjust your photo accordingly.
Most photo editing software allows you to create custom templates, so you can easily resize and crop your photo to fit the desired specifications. And if you’re unsure about anything, don’t hesitate to reach out to the organization or printer for clarification.
Legal Requirements for ID Photos
If you’re using wallet size photos for official identification, there are certain legal requirements you’ll need to follow. These can vary depending on the country or organization, but here are some general guidelines:
- Head-to-Shoulder Shots: Most ID photos require a head-to-shoulder shot with a neutral expression.
- Neutral Background: Stick with a plain, light-colored background.
- No Accessories: Remove hats, sunglasses, and other accessories unless specifically allowed.
- Recent Photo: Your photo should be taken within the last six months to reflect your current appearance.
Always check the specific requirements for your application to ensure compliance. It’s better to be safe than sorry when it comes to legal matters.
Final Thoughts
Wallet size photo dimensions might seem like a small detail, but they play a big role in creating those perfect prints. By understanding the standards, requirements, and best practices, you can ensure your photos look great every time.
So, whether you’re preparing for an official ID or just wanting to preserve a special memory, remember these key takeaways:
- Stick to the standard dimensions for wallet size photos.
- Use high-quality file formats and resolutions.
- Edit carefully to enhance clarity and detail.
- Choose the right printing options for your needs.
- Avoid common mistakes and follow legal requirements when necessary.
And most importantly, have fun with it! Photos are a way to capture life’s moments, so make sure you enjoy the process. Now go out there and create some wallet-worthy memories!
Got any questions or tips of your own? Drop a comment below and let’s chat. And if you found this guide helpful, don’t forget to share it with your friends and family

Detail Author:
- Name : Rosa McLaughlin
- Username : koepp.suzanne
- Email : velma.zulauf@yahoo.com
- Birthdate : 1990-08-23
- Address : 28332 Zelda Village East Jayden, MI 52232
- Phone : 1-641-926-3618
- Company : Hane Inc
- Job : Command Control Center Officer
- Bio : Ullam vero enim sed maxime. Tempora quis sit quod fuga unde. Quis sit reiciendis quia laudantium.
Socials
facebook:
- url : https://facebook.com/paris6545
- username : paris6545
- bio : Amet molestiae est ipsam odio maiores eum.
- followers : 958
- following : 262
twitter:
- url : https://twitter.com/paris_xx
- username : paris_xx
- bio : Consectetur incidunt commodi rerum qui dolor. Id magni aut cumque accusantium natus quia aspernatur. Placeat dolore velit itaque blanditiis.
- followers : 5902
- following : 1960
linkedin:
- url : https://linkedin.com/in/paris.hill
- username : paris.hill
- bio : Tempora reiciendis quod error qui consequatur et.
- followers : 1998
- following : 1431
instagram:
- url : https://instagram.com/hillp
- username : hillp
- bio : Molestias et consequatur dolorum quis dolore et. Maiores culpa atque at.
- followers : 6625
- following : 2976
tiktok:
- url : https://tiktok.com/@parishill
- username : parishill
- bio : Corrupti voluptas quae amet quia sed.
- followers : 4833
- following : 1718
